We're Moving to WordPress

We're Moving to WordPress

I never thought I'd say this, but we're moving the blog from Blogger to WordPress! If things look a bit different around here, You're on WordPress now!

Thanks for being an awesome reader - more great content soon!

Ditch That Credit Card: Contactless Transactions Are the Future of Payments

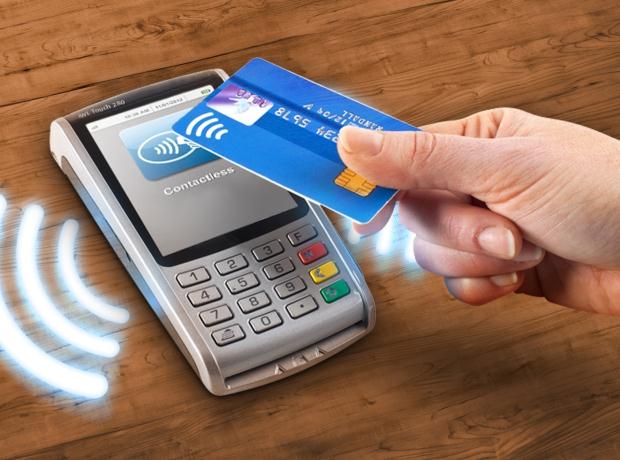
Before getting into the specific devices that are transforming the field of payment, it is first important to define and explain a crucial technology. NFC, which stands for Near Field Communication, allows for devices to exchange data without wifi, and at a close range. In terms of business transactions, this information comes in the form of bank accounts and other personal financial data.

Ditch That Credit Card: Contactless Transactions Are the Future of Payments

The greatest innovation concerning NFC is applying it not only to credit cards, but also to mobile devices. If you’ve ever walked into a coffee shop and seen someone just holding their phone straight in front of them at checkout, chances are high they are using their phone’s NFC technology to make a purchase. Companies like Level Up, Apple Pay, and Google Wallet are all popular examples of this contactless payment.

But if mobile contactless payment is already prevailing, what’s next? Well, that’s where new technology that’s derived from NFC comes into the picture. The very development of NFC is an improvement over a previous, contactless innovation: radio frequency identification (RFID) technology. Therefore, it is feasible that the next iteration of NFC will be a breakthrough in the realm of contactless transactions.

Contactless technology is just starting to emerge on new platforms like smart watches and clothing. For example, The Samsung Gear G2, which utilizes Samsung Pay technology, is a recent smartwatch product that focuses on contactless payment, while the Lyle & Scott bPay jacket incorporates NFC technology right in the sleeve cuff.

The next contactless technology could just be your very own body: hands-free transactions and technologies are being developed, with Google leading the pack by introducing an app called Hands Free. The goal is to be able to visit a participating retailer and check-out by stating your name to the cashier. A sensor then corresponds your name to the app’s database to confirm that you have the app downloaded and then it charges you on site. No credit card, no flashing a mobile phone or smartwatch - just simple vocalization and the transaction is complete.

With technological innovation always striving for greater efficiency, ease, and user satisfaction, it comes as no surprise that the realm of financial transactions is changing. Whether it’s with your phone, watch, jacket sleeve, or soon just your voice, the future of payment technology has arrived and the way you decide to pay is an ever-evolving decision.


Author : Rae Steinbach

fueled.com

Automatically Delete the Useless Photos From WhatsApp

WhatsApp is most popular platform for sending SMS, photos and video but after a month of usage it take lots of space in our mobile phone. We all have friends and relative who continuously forward us motivation quote and funny images they've received from their own network. If you're added in WhatsApp groups by friends, then you'll get tons of SMS, images or videos. You've an option to mute WhatsApp group but the downloaded images would still take up precious space on your mobile phone. 


How to Delete the Useless WhatsApp Photos Automatically

Either you can open the media folder of WhatsApp and delete the entire folder containing images but it delete all photos, or use a third party App called Magic Cleaner. 

Magic Cleaner App, scans the media folder of WhatsApp and automatically detects all the junk images including video screen grabs, cartoons, screenshots and other images with overlay text. It requires an active Internet connection because the photo analysis is done on Siftr servers and not locally on the mobile phone. 


Download and install the Magic Cleaner App from Google Play Store. Open Magic Cleaner and tap on me to start analyzing your photos. It will analysis 500 photos in single run and give an option to delete junk photos found. If you would like to delete more images, you can either need to invite a friend to use the app or wait for a day.

How to Restrict Windows 7, 8.1, or 10 Usage for a Specific Time

If you think that your kids are spending too much time on the computer, don't get off the computer and warning are not working anymore. It's a bit hard to set parental controls to local accounts and you can't let your kids mess up with your works by giving them the administrator account, with restrictions. You can use this simple trick to set a time frame that restrict to access Windows 7, 8.1 or 10 user account using the Command Prompt (CMD). 


How to Restrict Windows 7, 8.1, or 10 Usage for a Specific Time

Click on Start menu, type run and search for Command Prompt (CMD) and run as "Administrator". In the Command Prompt, type net user username / times: day, time

Replace username with the username of the account that you'd like to restrict the usage. Replace the day with the days that the user will be able to access his/her account, for this you can use initials like M, T, W, Th, F, Sa and Su. Replace the time with the time in which the user will be able to access Windows user account. 

For example : net user rahul /time: M-Sa, 8pm-9pm

You can also set a different time for different days by separating them using a semicolon.

net user rahul /time: M-W, 6pm-7pm; Th-Fr, 7pm-8pm; Sa-Su, 10am-12pm

Note : While setting time in 24-hour format, make sure that it should be in full hours (11:00 or 12:00). Half an hour (11:30 or 12:30) won’t work.

To give complete access to the user then type the following command

net user rahul /time:all

If you've any question, drop a line in comment box!

Best Time Saving Android Shortcuts

When it comes to getting things done on mobile, you can never be fast enough. Whether you're just getting started with Android device or a daily user, these are the Android shortcuts you should be using right now. 

Best Time Saving Android Shortcuts


#1. Reject calls with a text
On most Android phones, this option is available in the phone App > Settings > Call blocking > Quick responses. You'll see the call reject messages like "Can't talk now, What's up?", "I'll call you right back", "I'll call you later", "Can't talk now, call me later?" or you can edit custom message with your own writing style. 


#2. Quickly open the camera

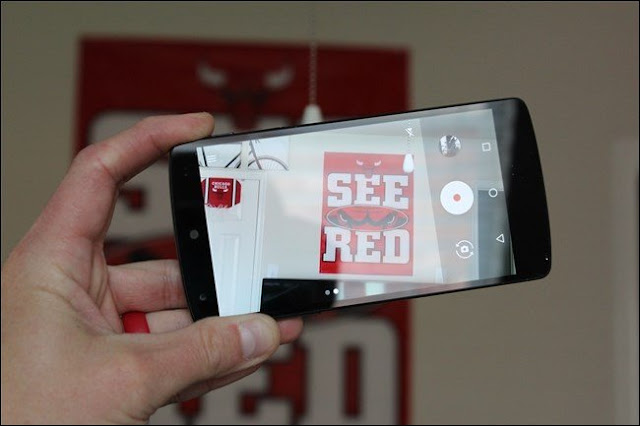
If you're running a Android 6.0 (Marshmallow), then you can launch the camera instantly by tapping the power button twice while the phone is asleep.
 

Nexus 5X or Nexus 6P: double-tap power button.
Samsung devices : double-tap the physical Home button.
LG V10: double-tap the volume down button.
Moto G 2015: twist your wrist with the device in hand.

#3. Bypass unlocking your phone

You can now set "Safe" locations in which your device will remain unlocked. Leave that zone, and your device will lock and require your security code or pattern to be entered.

Launch the Settings app > select Security from the list > tap Smart Lock followed by Trusted places.


#4. Add Contact Widgets
Press and hold on your Home screen, choose Widgets, and then look for the Contacts 1x1 widget. Tapping this shortcut loads a contact's details, letting you call, text, or email without scrolling through your address book.


#5. Enable "OK, Google" Everywhere

Open Google Now app by either swiping up on the home button or long pressing it, go to menu > Settings > select Voice and tap "OK Google detection", toggle the From any screen option on. Say the magic words three times and you're set. As a bonus, this little exercise will let you use the trusted voice option in Smart Lock.


#6. Refresh a Webpage

If you want to reload the current web page in Chrome browser, just tug down on the page. Once you've tugged hard enough, a spinning refresh icon will appear below the Chrome toolbar—and within a few seconds, the page will reload. 


#7. Do not disturb mode

You can silence incoming calls, chats, notifications and other alerts on any daily schedule your choose. Press and hold the volume down button in Android 6.0 Marshmallow, to activate "Do not disturb mode". To deactivate the Do not disturb mode, simply press and hold the volume up button. 


#8. Screenshot

To take screenshot, Just press hold the power and volume down buttons until you hear the "Click". In Android 6.0 Marshmallow, Press and hold the Home button to launch Now on Tap, then tap the Share button to the left of the Google button. 

#9. Fast typing
In Google keyboard, tap the "?123" button to get special character and number. If you want to capitalize a letter beyond the first character of a sentence, just double click on the caps-lock key (the up-facing arrow to the left of letter z). Long-press any number in Google keyboard to get a pop-up list of common fractions involving that figure. 

How to Recover data from Hard disk, USB flash drive or SD card

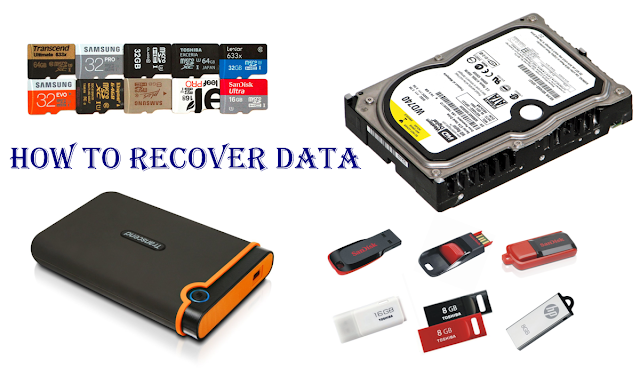
Hard drive crash or damage, usually include logical damaged and physical damage. The physical damage include scratches on platter, head wear, circuit board short circuit and chip burning. The logical damage includes partition table lost or damage, MBR damage, track servo information error, system information error and section logical error. 
How to Recover data from Hard disk, USB flash drive or SD card

This kind of damage is usually easy to be recovered by just adopting a professional and dedicated program. 


6 signs that may indicate a logical damage

1.A weird sound is coming from computer when it is started normally.

2.Data Error Reading Drive D:, General Failure Reading Drive C: or Sector Not Found error message appears and leads to boot failure, while virus infection is excluded.

3.Scandisk is automatically run to detect disk error each time when system is booted successfully.

4.When performing FDISK to hard disk, you find it was stuck in a certain point, going forward and backward repeatedly.

5.When you plan to format a partition on hard drive, the process is stuck in certain stage and error finally occurs, making you end up in failure.

6.Hard drive read error appears constantly when a file is reading or a program is running, suggesting file corruption and other information. Besides, if the disk reading process takes too long or the blue screen appears during reading, it also suggests that there’s bad sector/track on hard drive. 


Testdisk data recovery software works on Windows, Linux and Mac and file system supported includes FAT, FAT12, FAT16, FAT32, exFAT, NTFS, NTFS5, HFS, HFS+, EXT2, EXT3 and EXT4. By using this Testdisk software you can recover data from USB flash drive (Pen drive), external and internal Hard disk, SD card etc. 


How to Recover data from Hard disk, USB flash drive or SD card

#1. Download Testdisk for Windows, Linux or Mac from here. Plug in your USB flash drive, SD card or External Hard disk.

#2. Extract the zip file and open the file called Photorec, (Run as Administrator) it will open a Command Prompt. 

#3. Now select a media, which you want to recover and press "Enter". 

Testdisk select a media


Note : If you see the message "Please select the partition table type", you need to select Intel for Windows and press Enter. 

#4. You will see "To recover lost files, PhotoRec need to know the filesystem type where the file were stored", choose other for Windows and Mac and ext2/ext3 for Linux, press Enter.   


Data recovery software free

#5. Next you'll see "Do you want to save recovered files in....", type Y and press Enter. 

Recover your Hard disk, sd card, pen drive

#6. The software recovering the files and save it to the destination folder. It will take around 10 min for 8 GB Pen drive to recover data. 

If you've any question, please drop a line in comment box.